
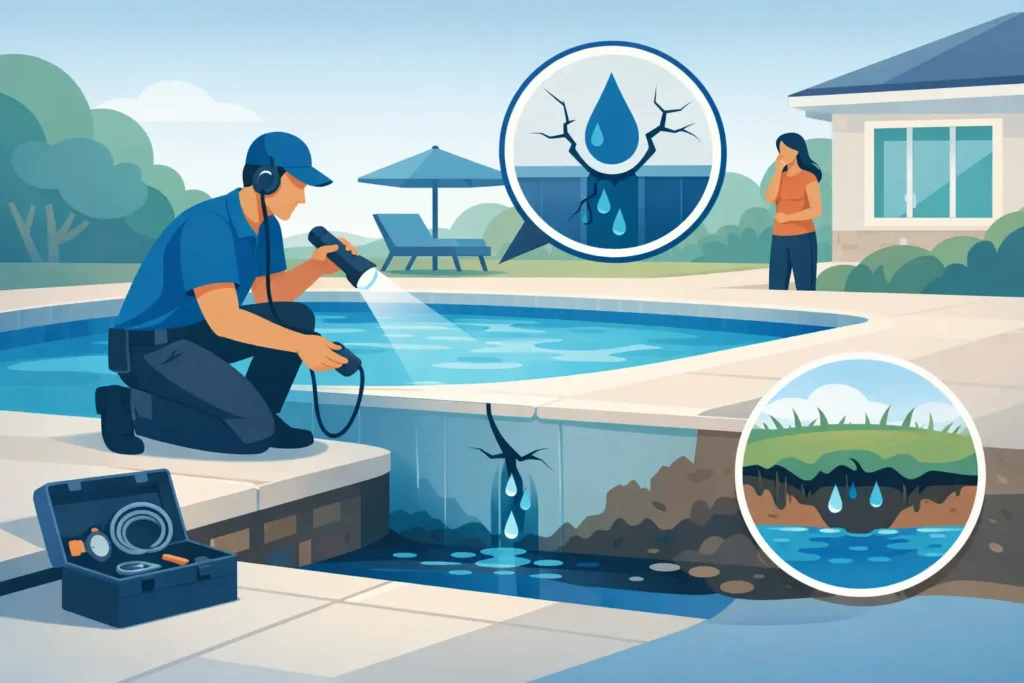
A pool that needs a little water now and then is normal. A pool that keeps dropping below the skimmer, leaves wet spots near the equipment, or requires the autofill to run constantly is sending a different message. Knowing how to find pool leak early can protect your water bill, equipment, landscape, deck, and pool structure before a small issue turns into a disruptive repair.
For homeowners, the first concern is usually wasted water. For HOA boards and commercial property managers, a leak can also create safety concerns, affect pool operations, and lead to costly damage beneath surrounding hardscape. The goal is not to guess where the leak is. It is to narrow down whether water loss is from evaporation, plumbing, equipment, or the pool shell, then make the right repair with clear authorization and minimal disruption.
Start by Confirming That Water Loss Is Not Evaporation
Pools lose water to evaporation, especially during hot, dry, or windy weather in the Santa Clarita Valley and San Fernando Valley. Heavy pool use, splashing, water features, and a heated spa can increase normal water loss as well. But evaporation is typically gradual. If you are adding water every few days or the water level falls noticeably overnight, it is worth investigating.
Before testing, turn off waterfalls, spillways, deck jets, and other water features. Check the pool during a period when it will not be heavily used. If your pool has an automatic fill device, turn it off temporarily so it does not hide the amount of water being lost. Never leave the pool unattended for an extended period while the autofill is off, particularly at an HOA or commercial property where maintaining a safe operating water level matters.
Use the Bucket Test for a Clearer Answer
The bucket test is a practical first step because it compares pool water loss to evaporation under the same weather conditions. Fill a bucket with pool water and place it on a pool step so the water inside the bucket is close to the pool water level. Mark the water line inside the bucket and the water line on the outside of the bucket, which reflects the pool level.
Leave the pump running for 24 hours, then compare both marks. If the pool water drops more than the water in the bucket, you likely have a leak. Repeat the test with the pump off for another 24 hours if possible. That second result offers an important clue:
- If the pool loses more water with the pump running, the issue may be in the pressure-side plumbing, return lines, filter, heater, pump, or another piece of operating equipment.
- If water loss continues at about the same rate with the pump off, the leak may be in the pool shell, skimmer, main drain, light niche, suction plumbing, or another area that holds water even when circulation stops.
- If the loss slows significantly with the pump off, a return-side plumbing leak becomes more likely.
- If the bucket and pool lose water at nearly the same rate, evaporation may be the main cause.
The bucket test does not identify the exact repair location. It prevents wasted time by showing whether a leak investigation is warranted.
How to Find Pool Leak Signs Around Equipment
Many leaks are visible before they require specialized testing. Start at the equipment pad, ideally while the system is running. Look for puddles, soft soil, persistent dampness, mineral buildup, or a drip that appears only when the pump is on. A small leak at a pump seal, union, valve, filter tank, chlorinator, heater connection, or plumbing fitting can lose a surprising amount of water over time.
Inspect the pump basket lid and O-ring as well. An air leak at the pump lid will not necessarily cause water to escape, but it can cause bubbles in the pump basket, weak return flow, or difficulty priming. Those symptoms deserve attention because circulation problems can affect water quality and put extra strain on equipment.
For pools with heaters, examine the area beneath and around the heater for moisture or corrosion. Do not remove heater panels or attempt internal repairs unless you are qualified to work on pool equipment. Gas and electrical components require professional service. Property managers should also document the equipment area with photos before work begins, especially when authorizing repairs for a shared pool.
Inspect the Pool, Spa, and Surrounding Deck
Walk the perimeter slowly and look for cracks, missing tile grout, loose coping, separation around fittings, or unusually wet areas in the landscaping. A crack is not automatically a leak, and not every leak produces a visible crack. Still, changes around the pool are useful evidence for a technician.
Pay close attention to places where materials meet: skimmer throats, return fittings, pool lights, steps, drains, handrails, and the transition between tile and plaster. These penetrations can be vulnerable because the pool shell and plumbing fittings expand and settle differently over time.
If you notice the water level repeatedly stopping at the same point, that level can help narrow the search. Water that stops just below the skimmer opening may point to the skimmer or its connection. Water that settles near a light or return fitting may indicate a problem in that area. This is not proof, but it is valuable information to share during a professional inspection.
Vinyl liner pools require a different approach than plaster, pebble, or fiberglass pools. A liner tear can be difficult to see and should be inspected carefully to avoid making it worse. Plaster and pebble pools may develop surface cracks that are cosmetic, structural, or water-related. The repair method depends on the location, movement, and condition of the surface, not simply on what a crack looks like from above.
Do Not Ignore Changes in Water Chemistry or Deck Conditions
A leak does more than lower the water line. Adding replacement water repeatedly changes the pool’s chemical balance and can increase the need for sanitizer, acid, and other treatment. If your service technician is constantly correcting chemistry despite normal bather use, unexplained water loss may be part of the problem.
Outside the pool, watch for loose pavers, sinking deck areas, damp expansion joints, washed-out soil, or standing water that does not match irrigation patterns. Underground leaks can move soil and affect nearby hardscape. At an HOA, apartment, or commercial site, these conditions can become trip-and-fall concerns as well as repair concerns.
Do not assume every wet area is a pool leak. Irrigation lines, drainage issues, rain runoff, and condensate from equipment can create similar symptoms. A careful inspection separates related issues from coincidence instead of repairing the wrong system.
When Professional Leak Detection Is the Right Next Step
If the bucket test confirms excess loss, if the water level is dropping quickly, or if you cannot identify an obvious equipment leak, professional leak detection is the sensible next step. This is particularly true when the suspected problem is underground plumbing, beneath decking, inside a spa, or near electrical components.
A qualified pool professional can use pressure testing, dye testing, acoustic listening equipment, and systematic inspections to locate the source more accurately. The right method depends on the pool type, whether the pump changes the loss rate, the equipment layout, and access to plumbing lines. A dependable contractor should explain what testing is recommended, what it is intended to confirm, and what repair options may follow.
For HOA and commercial properties, fast documentation matters. Record the dates of water loss, estimated refill amounts, bucket-test results, photos of affected areas, and any operational changes. This gives board members and managers a clearer basis for approval while helping the repair team arrive prepared.
Avoid Temporary Fixes That Hide the Real Problem
Leak sealers and patch products may sound appealing when water is disappearing, but they are not a universal solution. Some can interfere with equipment, filter media, or future repairs. A surface patch may also fail if water is escaping from a plumbing line or from behind the visible crack.
It depends on the location and cause. A minor fitting repair may be straightforward, while a broken underground line or structural issue needs a more complete plan. The best repair is the one that addresses the confirmed source, protects the pool system, and avoids repeating the same work months later.
At Adrian’s Pro Pools, we believe pool owners and property managers deserve honest communication about what is found, what needs attention now, and what can be planned responsibly. If your pool is losing more water than evaporation can explain, start with the bucket test, protect the water level, and arrange a qualified inspection before the problem reaches the deck, landscape, or equipment.
Pingback: Spa Repair: Signs It’s Time to Call a Pro - Adrian's Pro Pools